


Whether you’re returning to your office or trying to organize and sanitize your frequently used home office, cleaning your desk and its surroundings is a necessary part of any healthy work regimen. And as much as we may be inclined to keep things simple by giving everything a quick, cursory wipe, our desks deserve a whole lot more attention than that—in fact, studies show that our work stations can quickly become some of the dirtiest, most germ-infested surfaces we interact with. Without regular cleaning of surfaces and healthy sanitation practices, office workers are sure to expose themselves to countless harmful germs on a daily basis.
In this article, we give you all of the steps you’ll need to ensure that your office set-up is as clean and sanitary as possible. We recommend putting your desk through this kind of comprehensive deep clean at least once a month, while applying some of the easier steps, such as disinfecting your keyboard and mouse, on a bi-weekly basis. With the proper care and attention, you can avoid exposing yourself to harmful bacteria that often find themselves right at home in the places where we spend so many of our waking hours.
Basic Tidying
Before you get started on a deep clean of your work station, you’ll first want to get rid of any larger, easily disposable detritus by going through all trash and recyclables in your work station and putting them into their appropriate receptacles. As you’re going through your belongings and deciding what to trash and what to keep, you may want to use the KonMari Method—with the right framework, you’ll probably find that a lot of the items you had previously deemed essential are, in fact, disposable. If you follow through and only hold onto the objects that “bring you joy,” you’ll soon find that a life with fewer material possessions is both easier to organize and more sanitary.
Once you’ve properly disposed of every expendable object, you should start removing everything from your desk so that you have easy access to each surface that needs cleaning. Place everything you’ve chosen to hold onto, from your keyboard to that old family portrait, in a neat pile near your desk. No need to worry about making this pile organized—you’ll take care of that when putting all of these objects back in their proper place.
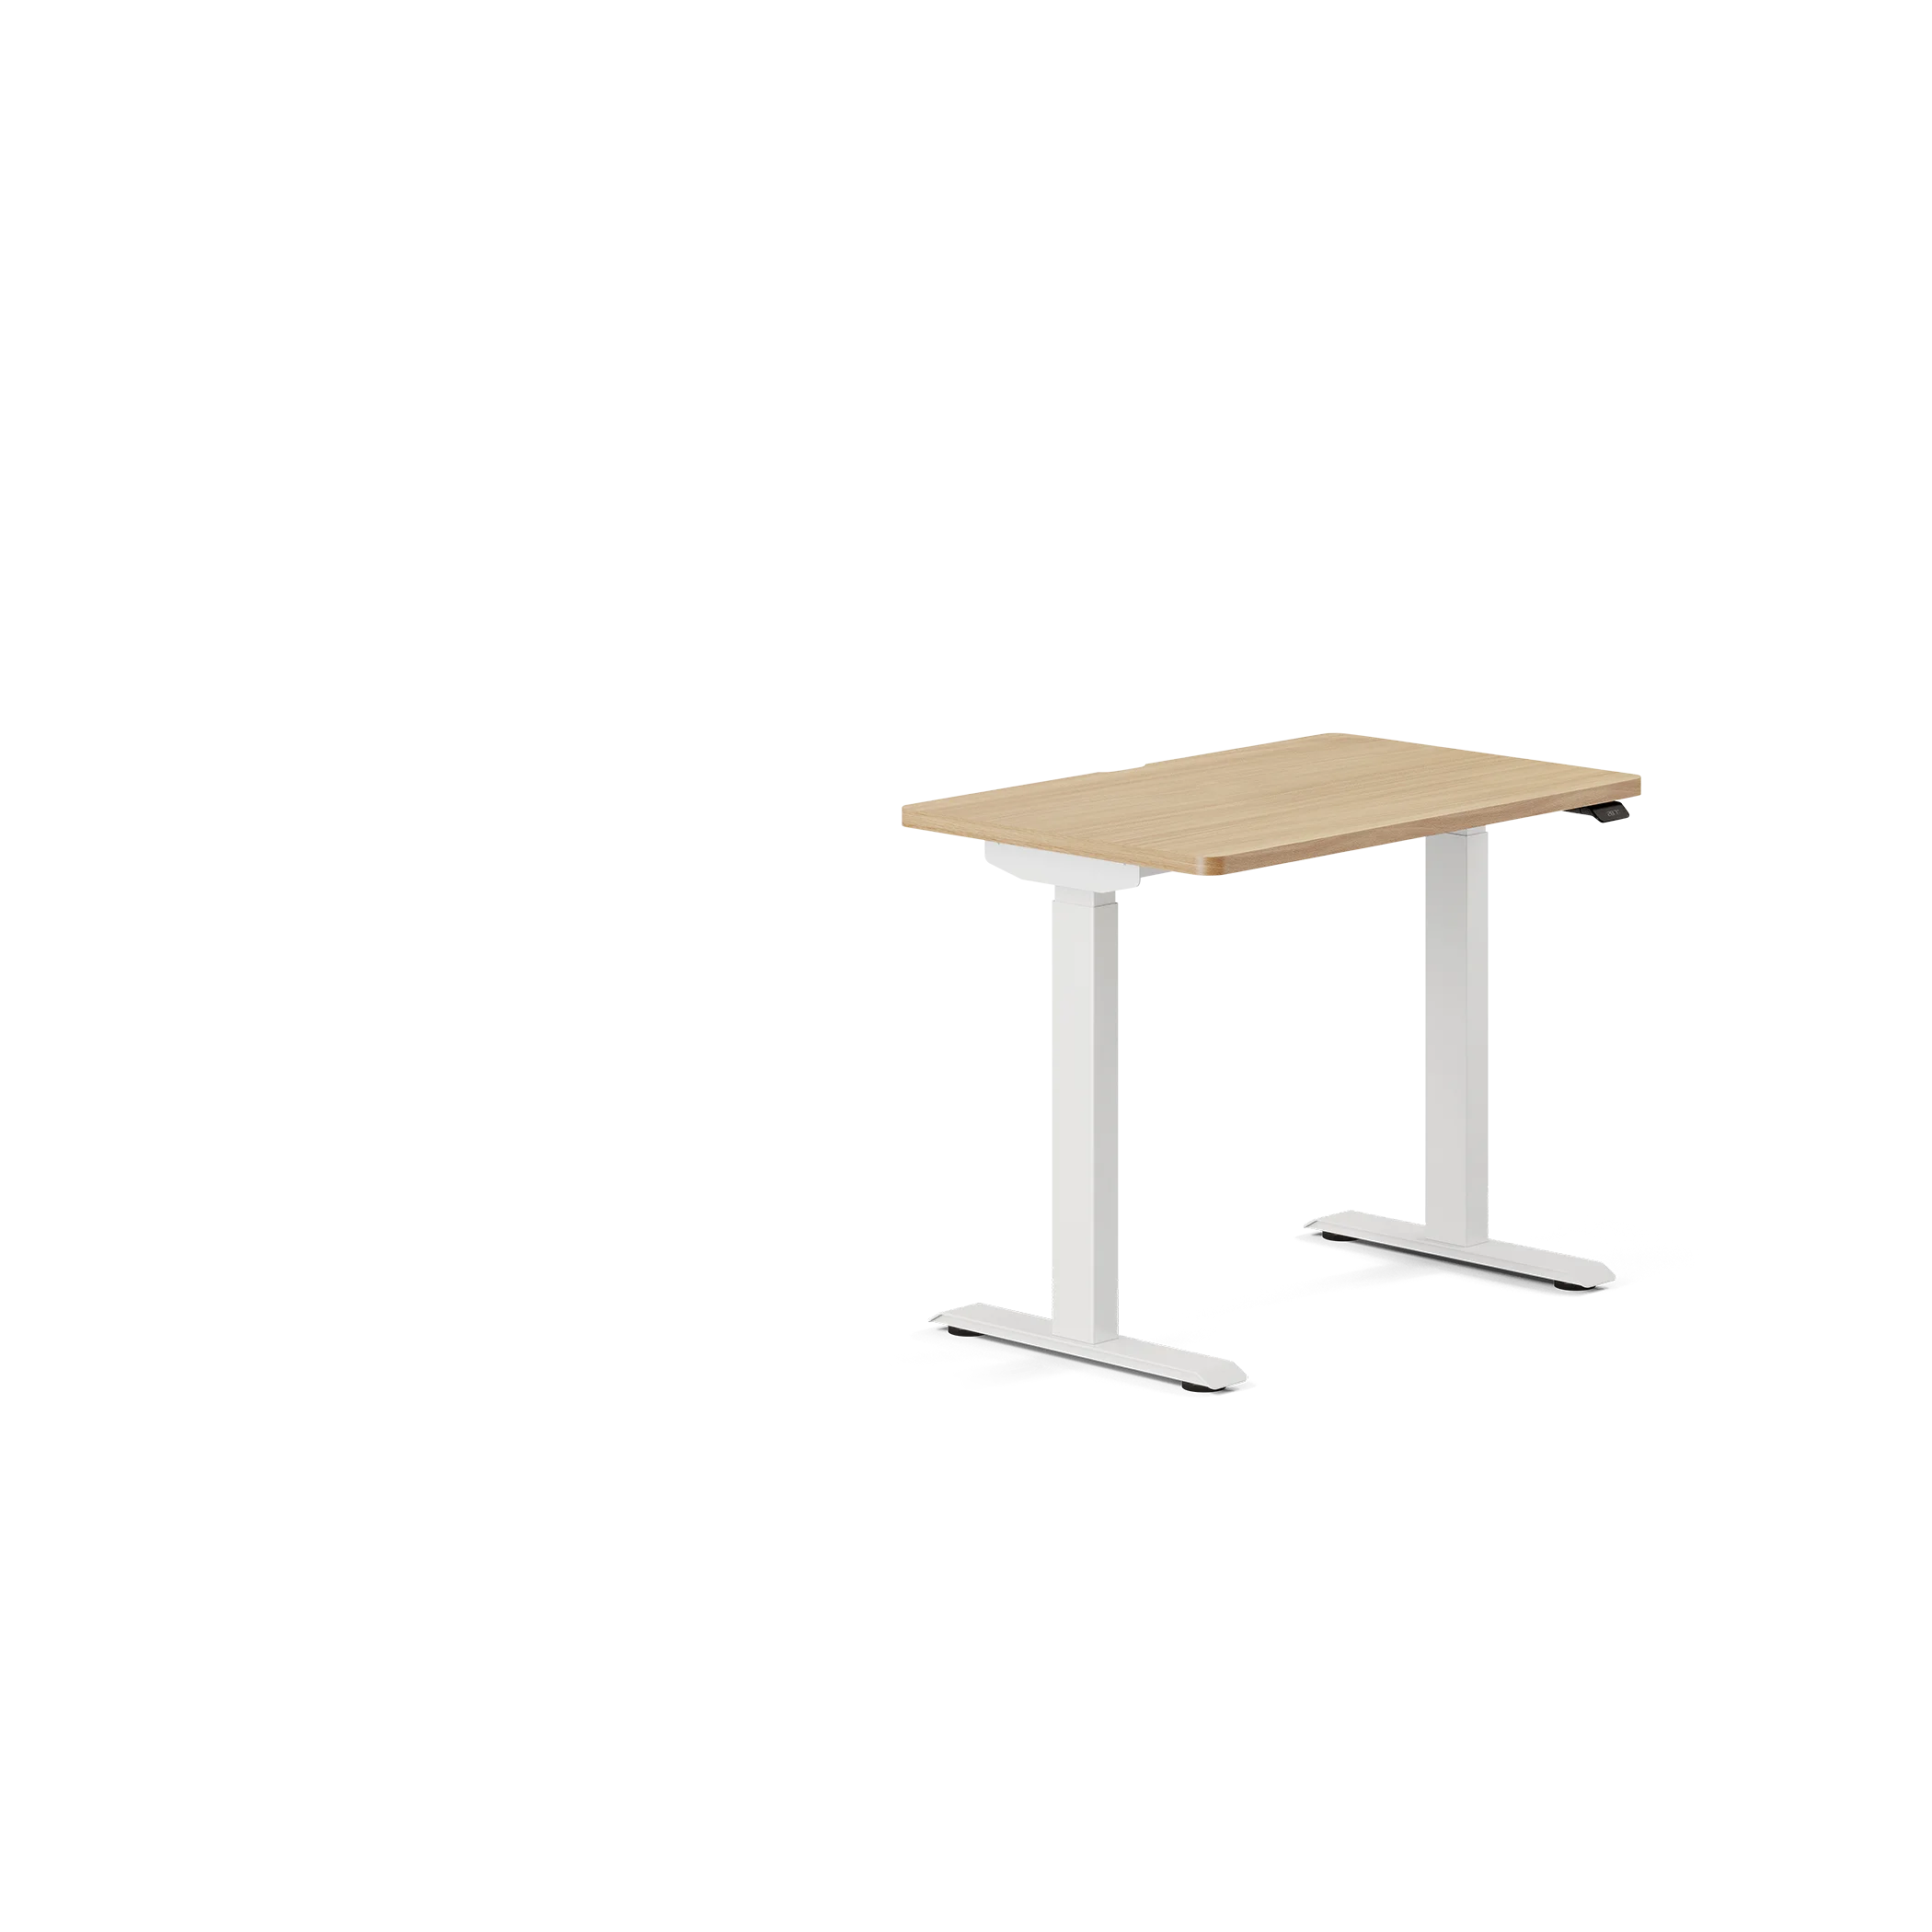
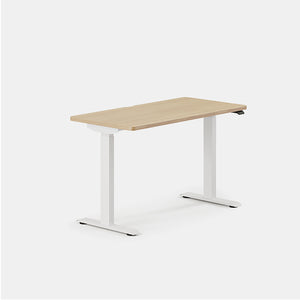
Your Desk
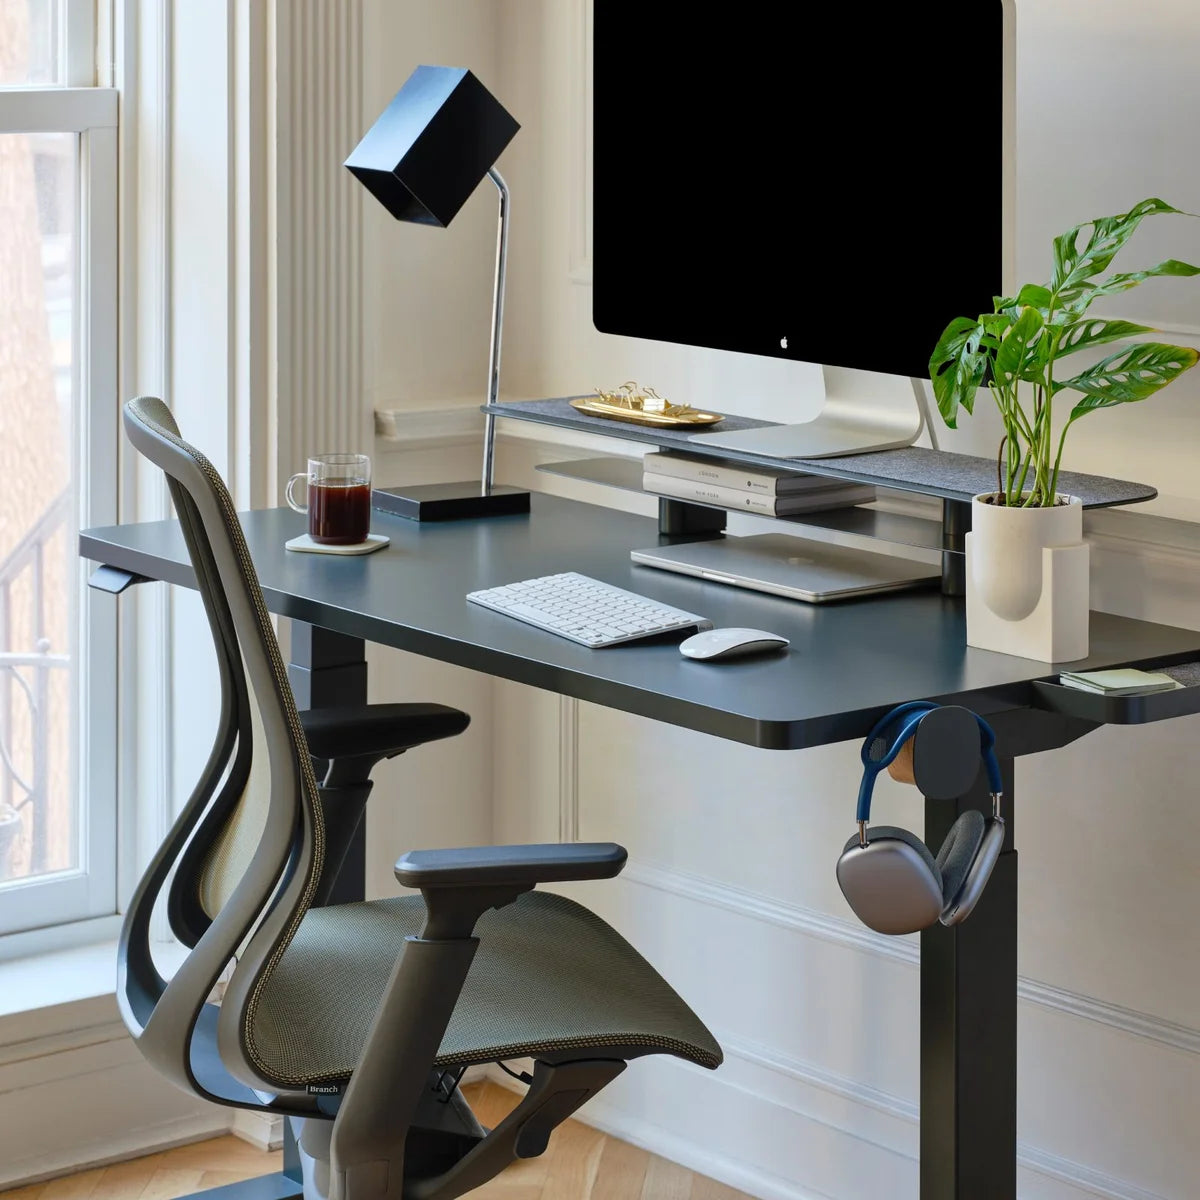
Now that everything has been removed from your desk and neatly piled, it’s time to start properly cleaning the surface of your desk. Just like the sweep/mop routine we use to thoroughly clean our kitchen floors, this process consists of two stages: a dry process and a wet one. First, you’ll want to take a dry cloth and wipe every nook, cranny and crevice of your desk in order to pick up any dust particles that have accumulated since you last cleaned up. Though you’ll certainly want to clean the parts of the desk you most use, don’t forget to get the hard-to-reach places as well: the back of the desk, the insides of any drawers, and the legs of your desk can all accumulate dust over time.
Now that you’re done “sweeping” your desk, it’s time to mop it. We prefer using disinfectant wipes to a method of conventional soap, water and paper towels, since disinfectant wipes are manufactured specifically for this kind of application. By using disinfectant wipes instead of a homemade solution, you’re ensuring you’ll kill virtually all of the lingering contaminants on your desk without scratching any delicate surfaces. Make sure you use multiple wipes over the course of the cleaning, since each wipe loses its efficacy as it picks up more dirt.
Just as you did with the dry cloth, you’ll want to thoroughly wipe down every single part of the desk, no matter how rarely you may use it. In fact, the places we use least frequently are often the most hospitable to unwelcome visitors like germs or mold. Take your time when wiping down these surfaces—this is the single most important part of the cleaning and sanitizing process. Once you’re done thoroughly wiping every surface with disinfectant wipes, you’ll want to wait at least five minutes to let everything properly air out before starting to place objects back on your desk.
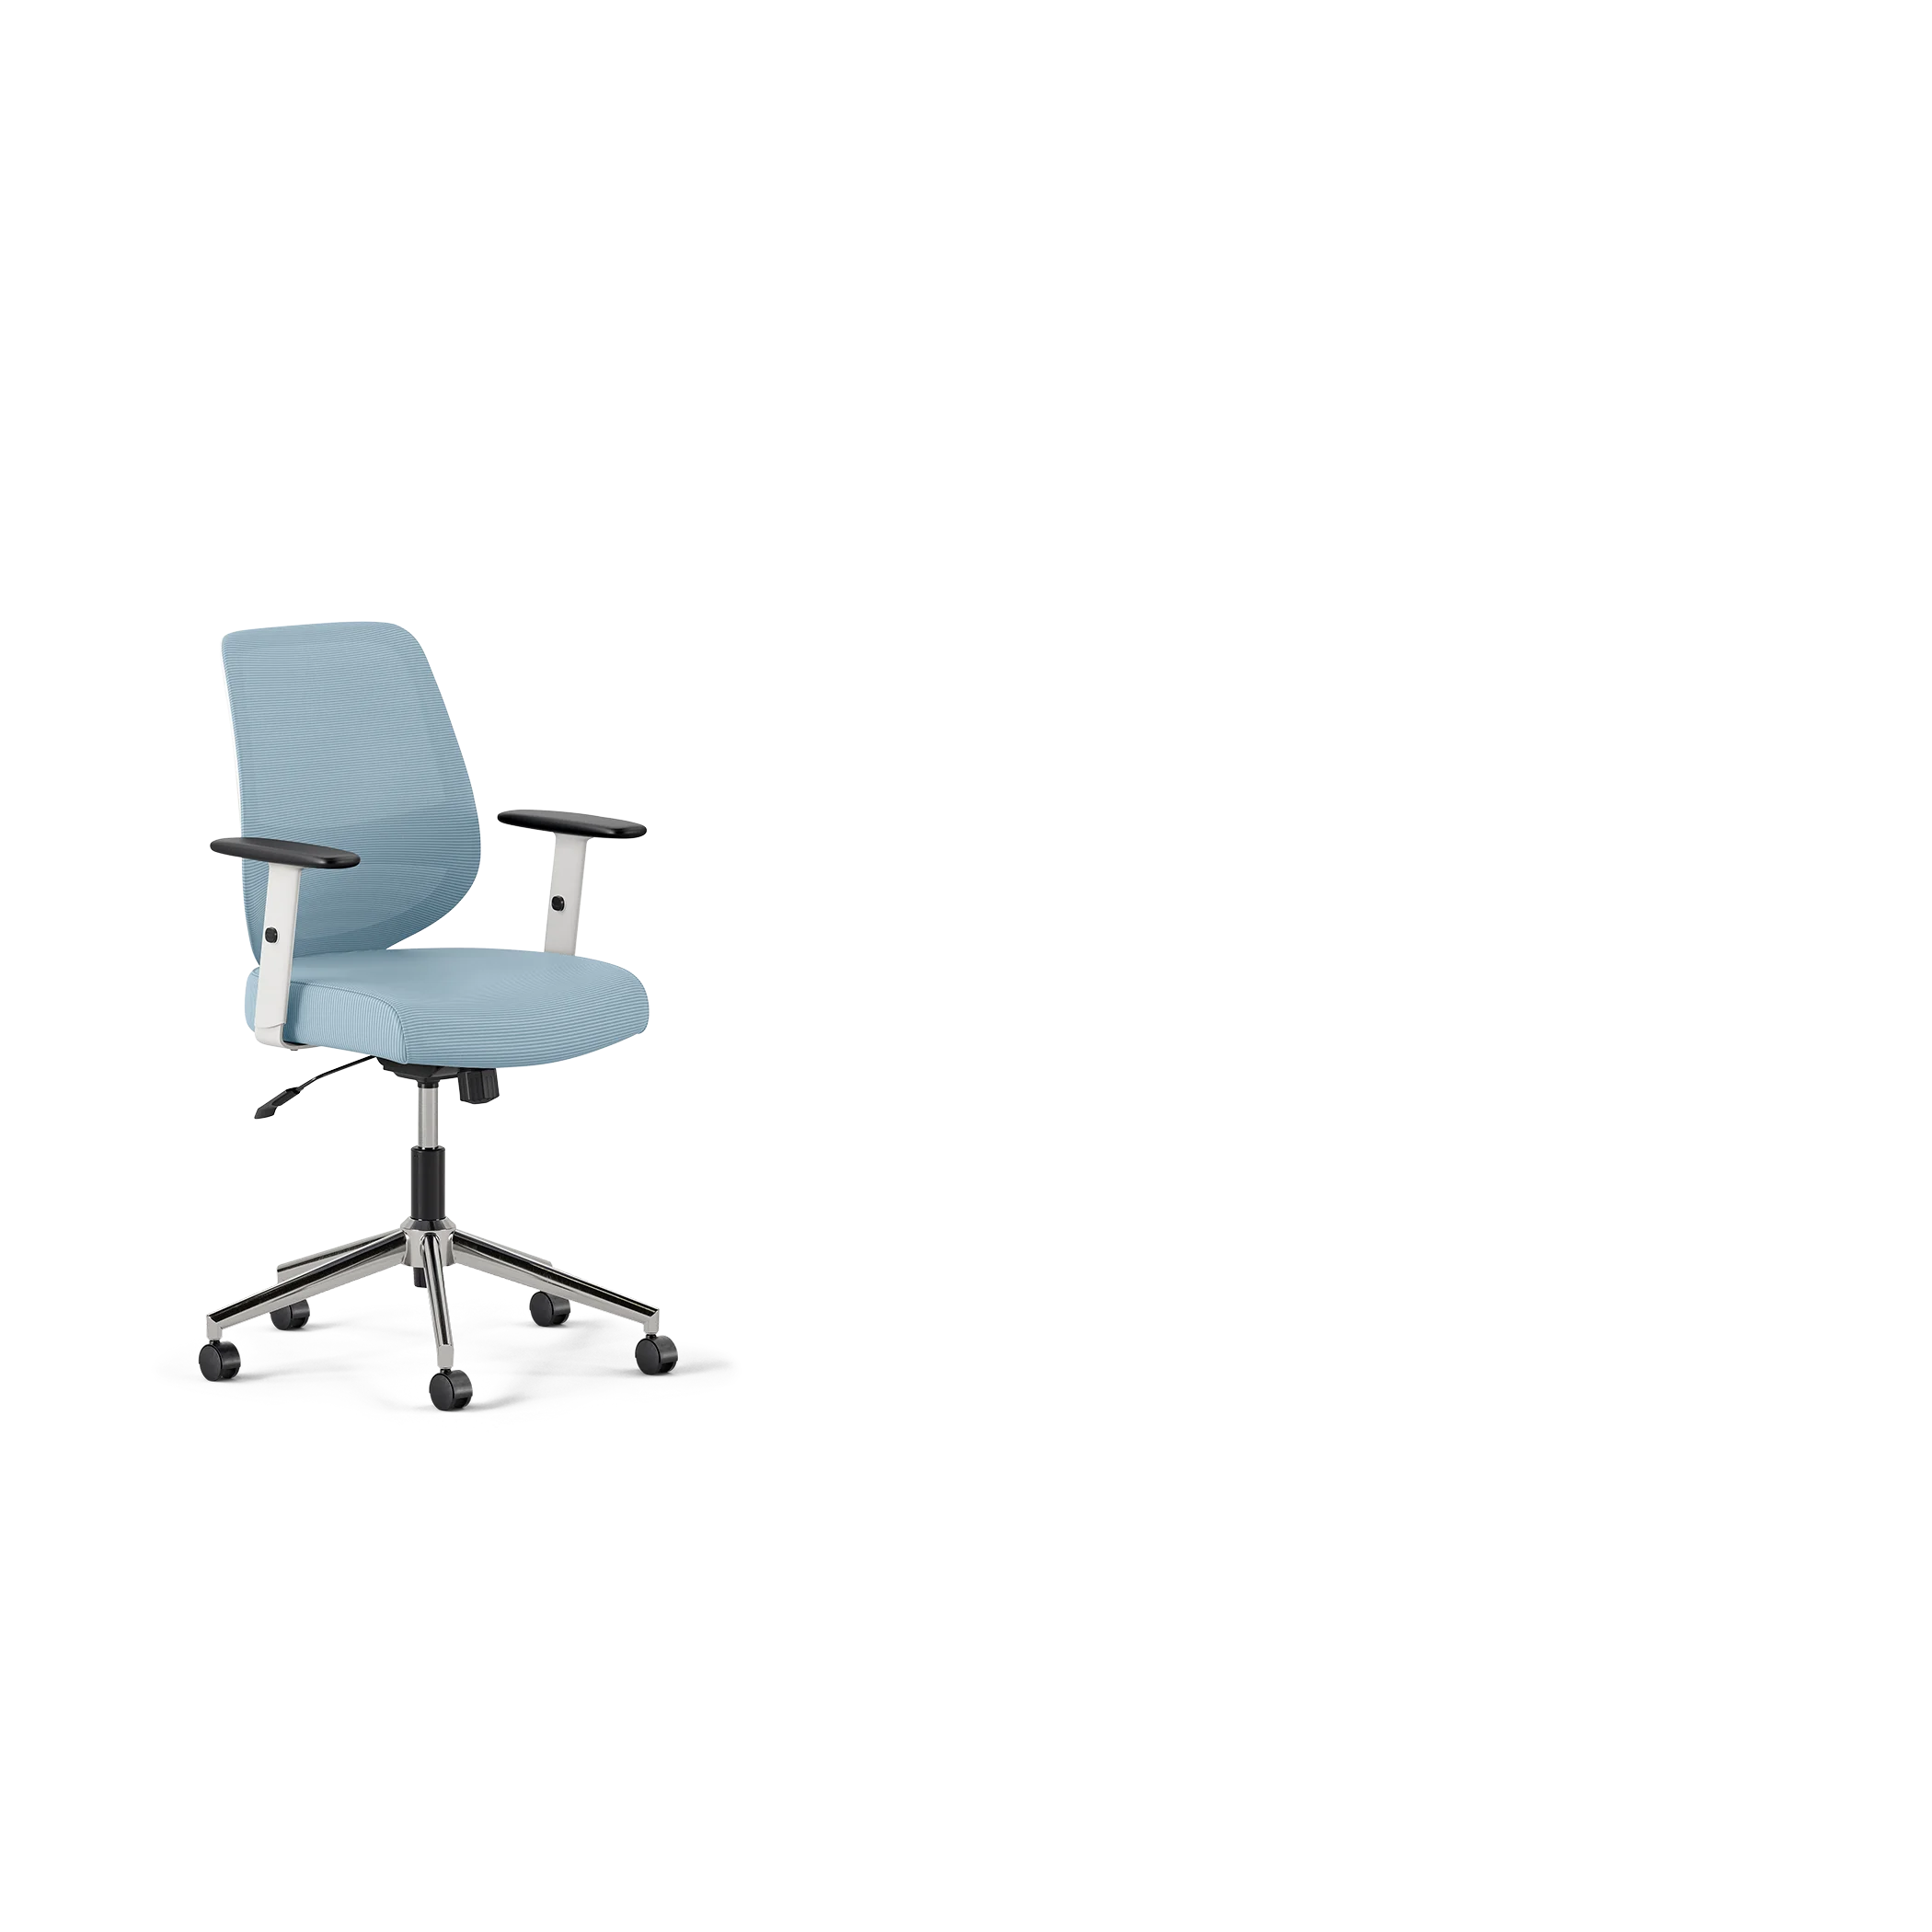
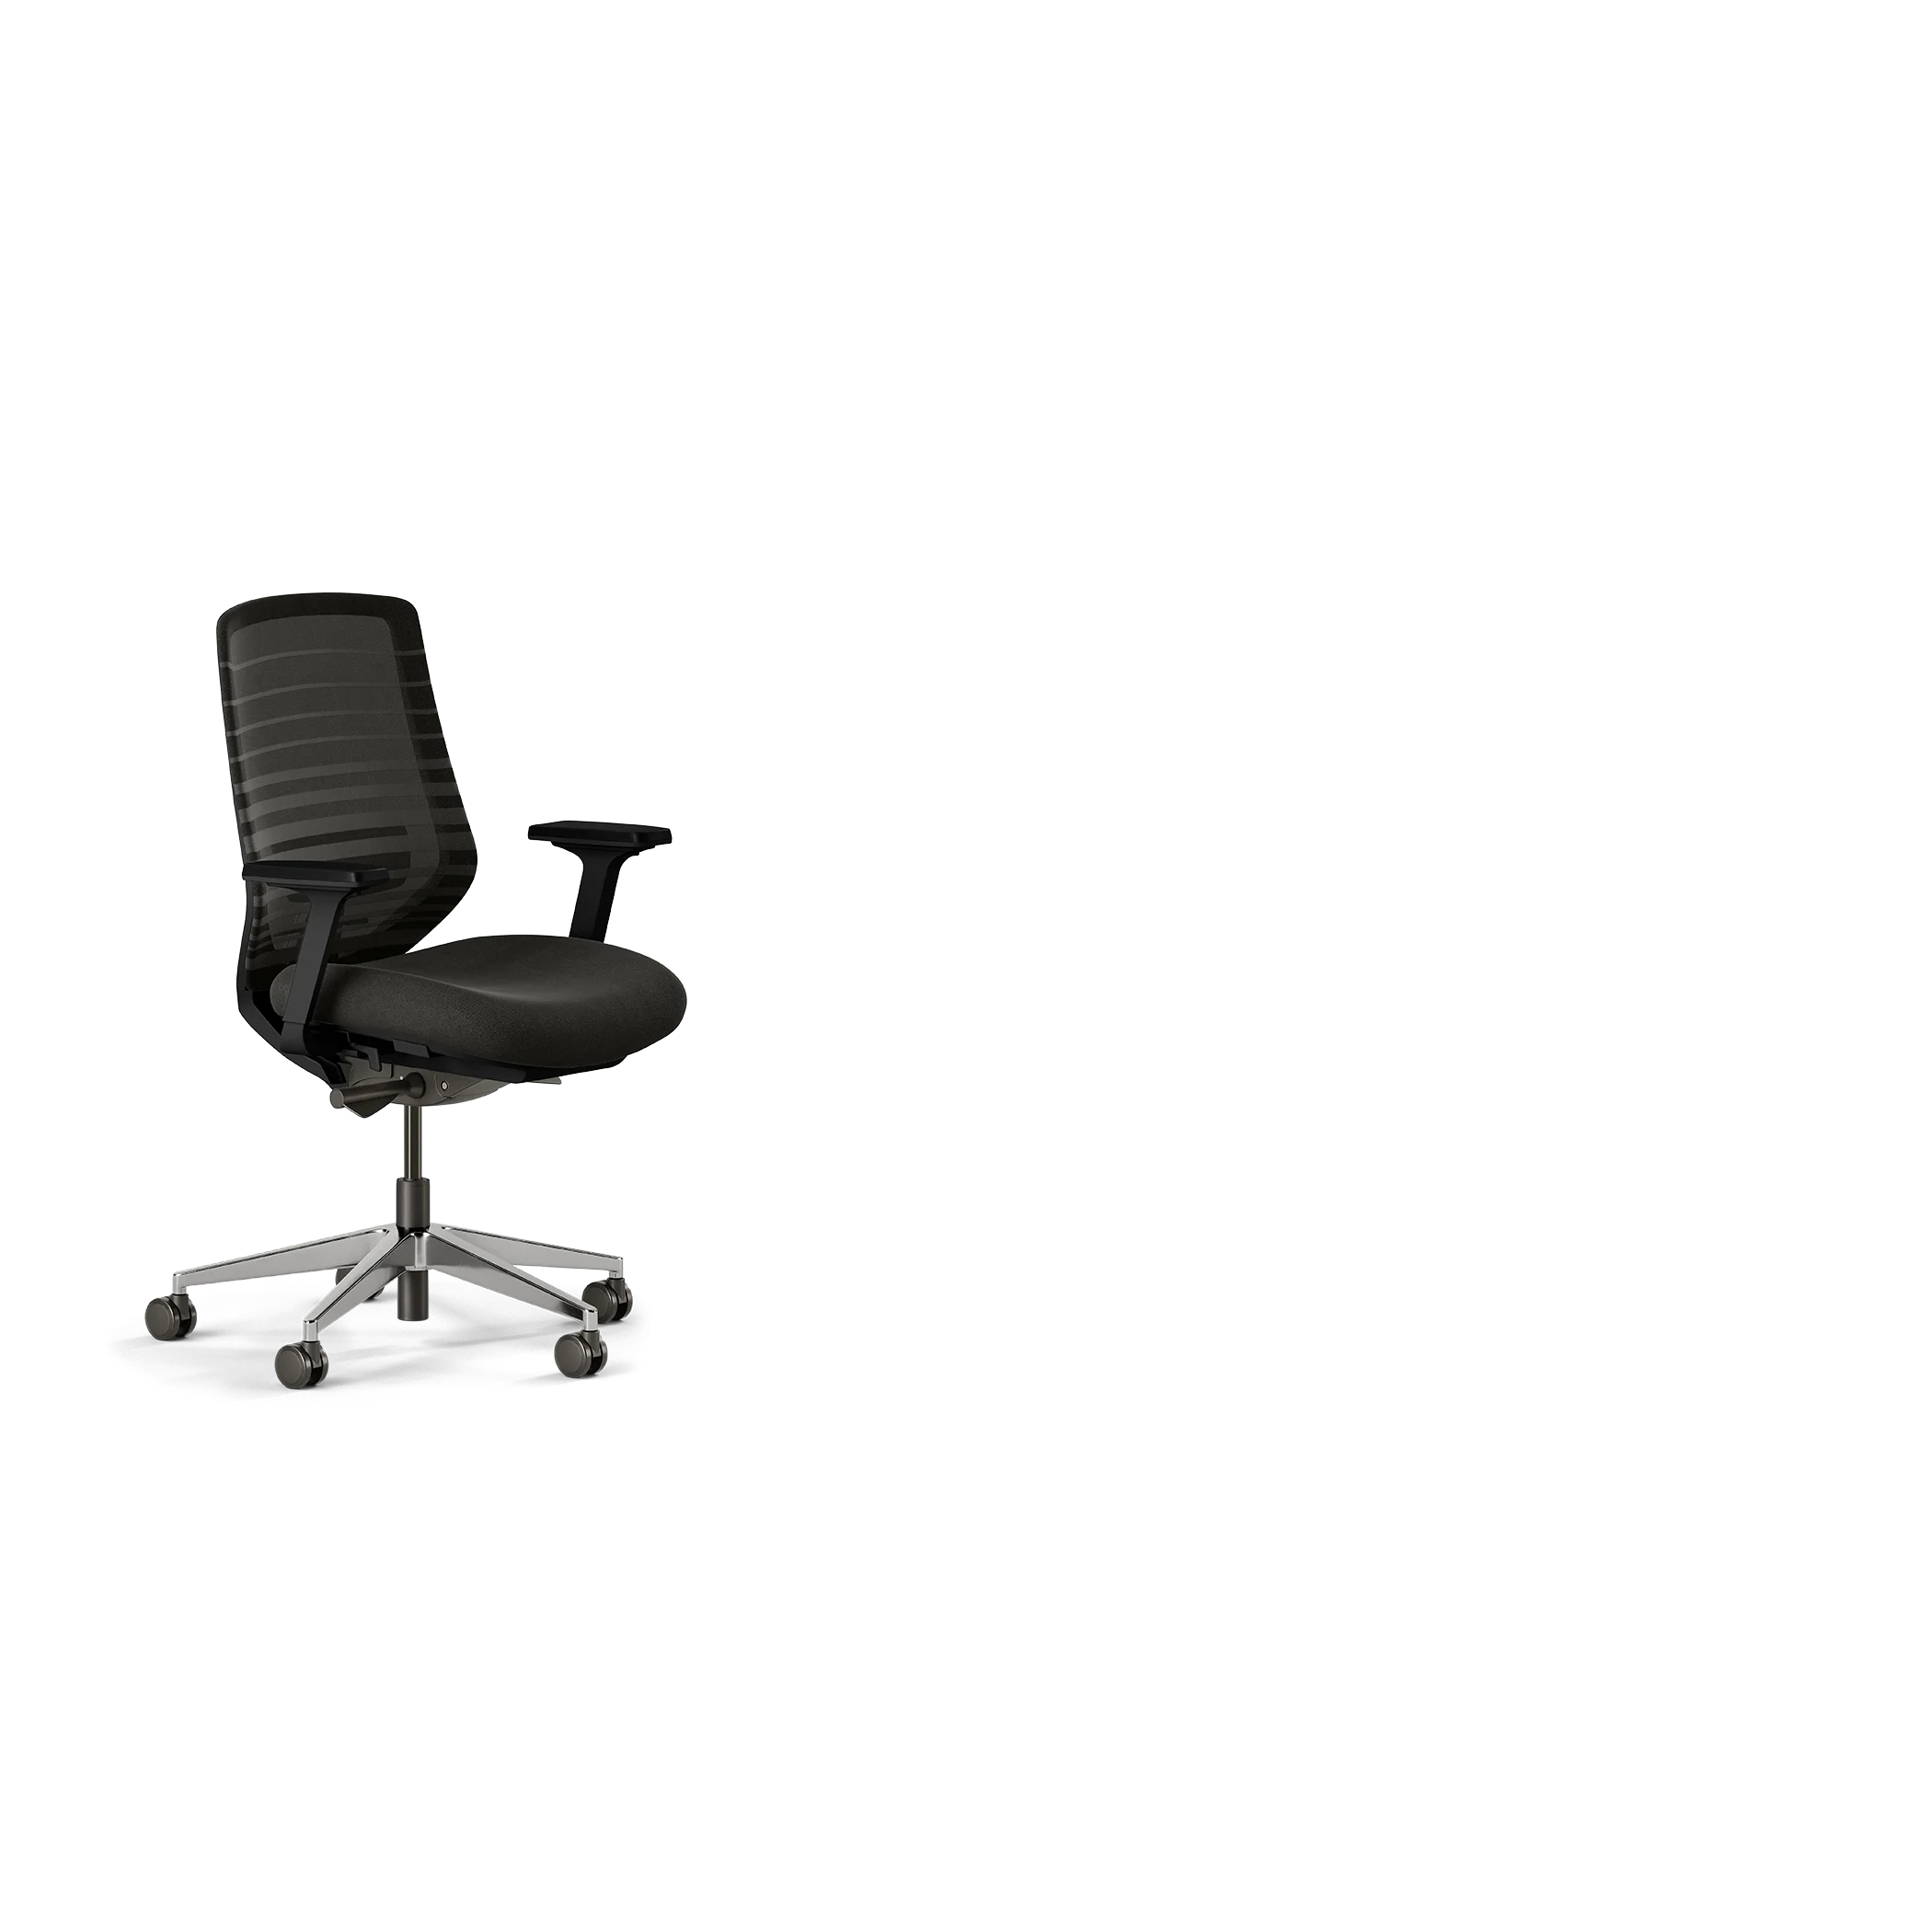
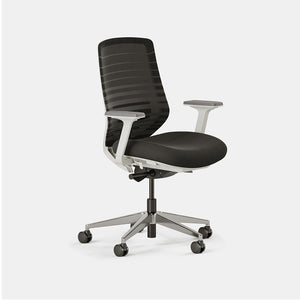
Your Chair
Unlike the rest of this process, cleaning your chair is not a one-size-fits-all situation. In order to figure out how to properly clean and disinfect all fabric surfaces of your office chair, you’ll first need to check the laundry tag, which is typically attached to the underside of the seat, for instructions on what products can be safely applied. Regardless of the solution that’s called for, though, you should first sweep and vacuum the seat to remove any loose debris that’s accumulated on its surface.
After checking the laundry tag and thoroughly vacuuming, start applying the proper cleaning solution to all upholstered surfaces of your chair—most office chairs (including ours) can be cleaned with solvent-based solutions. If you’re concerned that this solution may cause damage or discoloration to the chair, do a little spot-check before applying it to the entire surface: put a bit of the solution in a less conspicuous part of the chair, wait for it to dry, and then check to see if it has had any undesired effects. Assuming everything looks fine, you can then proceed to apply the solution to all fabric surfaces on the chair by gently wiping it with a damp cloth.
If, on the other hand, a spot check doesn't yield the appropriate results, you should buy a special water-free cleaning product at a furniture or office supply store. This is the recommended method of cleaning for all Branch chairs. The solution you buy will feature instructions on how to best apply the solution to your chair.
Once you’re done wiping down the upholstered parts of your chair, you’ll still need to disinfect it. To do this, apply the same process you used when cleaning your desk to any parts of the chair that are not upholstered, including armrests and other hard surfaces. Dust all metal, wooden or plastic surfaces with a dry cloth, and then go over them again with disinfectant wipes.
Your Computer
When cleaning any electronics, it’s vital that you make sure they’re all powered off and fully unplugged—even when powered down, plugged in electronics often carry a standby current that could cause damage, or, worse, endanger you when wiring comes into contact with cleaning fluids. So before giving your laptop or desktop the thorough clean it needs, make sure to fully turn it off, remove the battery if possible, and unplug your keyboard and mouse. Once you’ve done this, use a can of compressed air to hose down all cracks and crevices, including USB ports, headphone jacks and spaces between keyboard keys, in order to remove any tiny particles that have found a home in your computer. Make sure to always hold the can upright and spray in short bursts to avoid emitting any moisture.
After you’ve sprayed every crack and crevice, you should find a microfiber cloth and lightly wet it with an alcohol-based solution, which will lift off and dissolve any particles that have come off of your skin. Lightly wipe all surfaces except your screen with the damp cloth and wait for the surfaces to air out. Then, to clean off your screen, wet another microfiber cloth with a solution of equal parts white vinegar and water. Make sure to wring it out so that there’s no excess liquid, and then use it to lightly wipe your monitor—this should remove any fingerprints, grease stains or other blemishes. Once you’re done, your screen should be crystal clear.
Now that you’ve sprayed all surfaces with compressed air and wiped them with the appropriate solution, you’ll want to finish disinfecting everything. Though the alcohol-based solution will have already done much of the job, it’s a great idea to go over everything except for your screen one more time with disinfectant wipes. When disinfecting, make sure to pay special attention to the most frequently touched parts of your computer, such as the edges of your laptop, your space bar and your mouse.
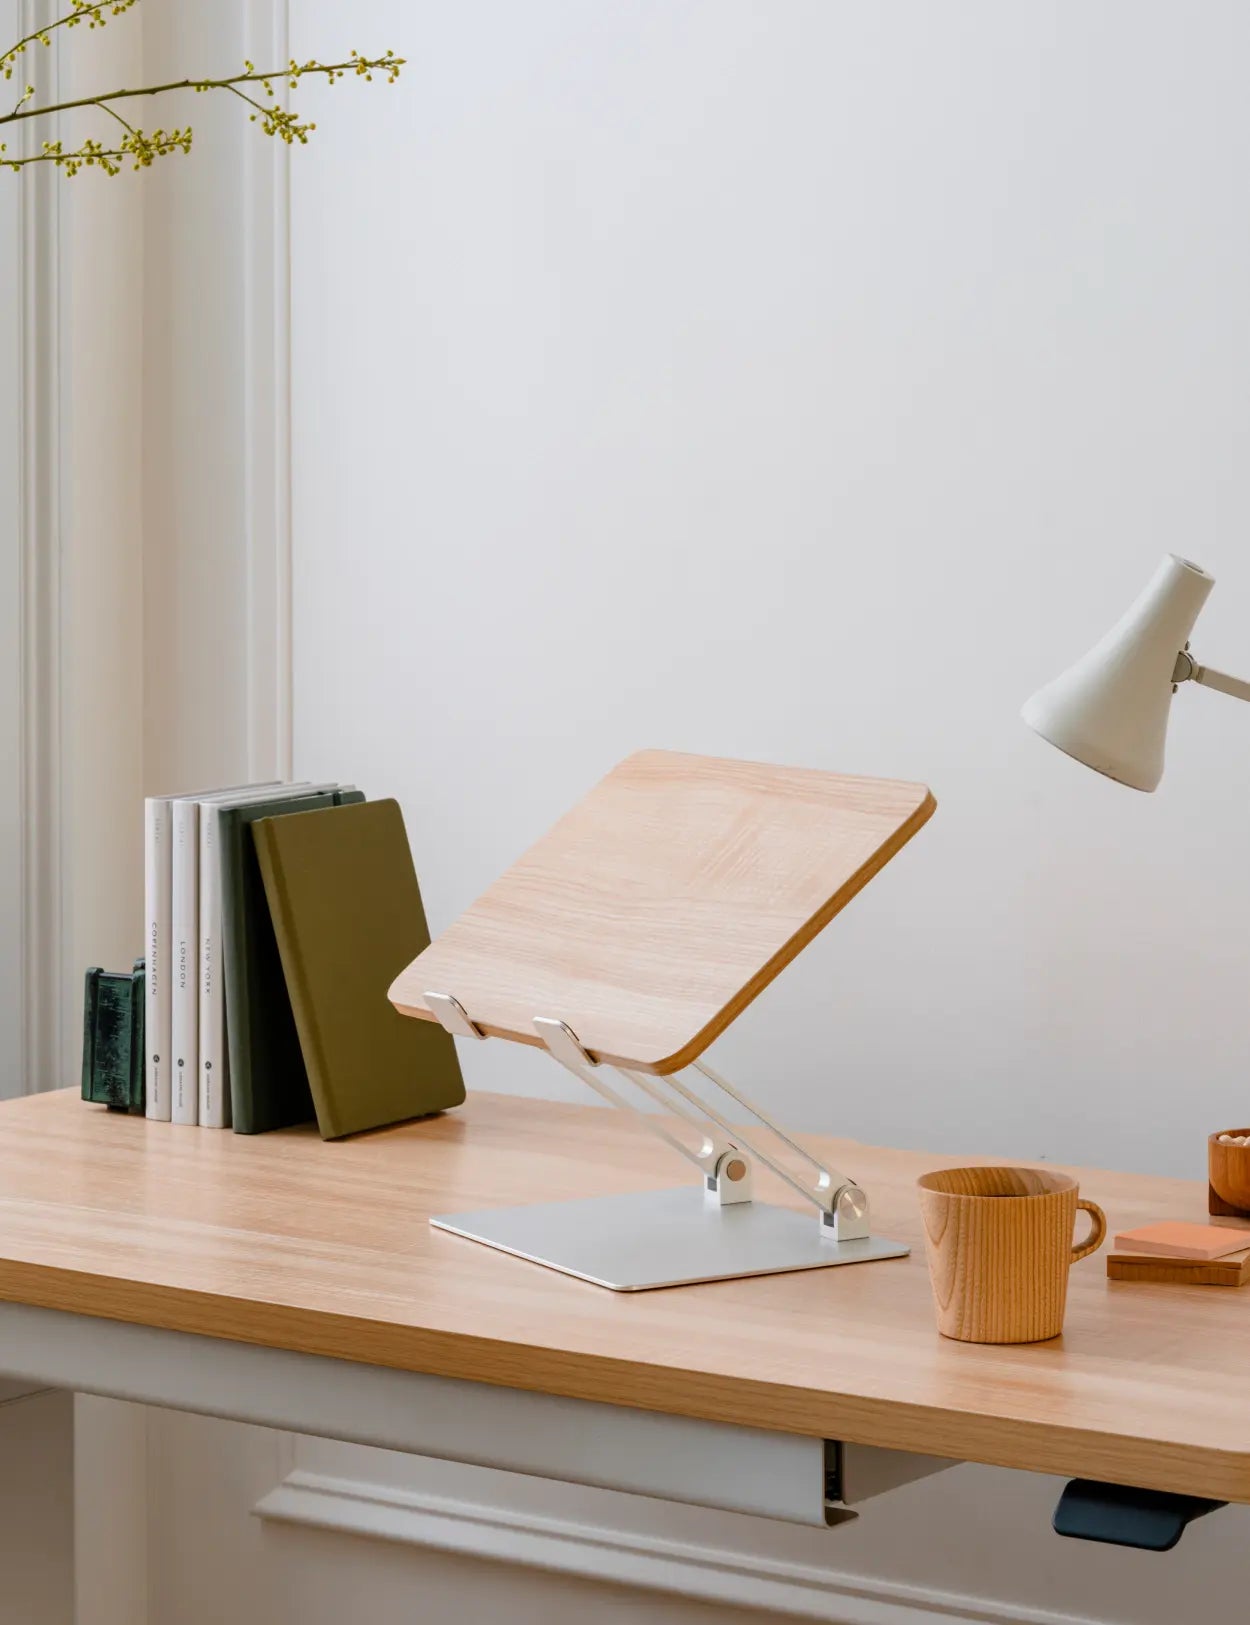
Your Other Possessions
Once you’ve thoroughly cleaned and disinfected your desk, chair and computer, it’s time to take those neatly organized (hopefully pared down) objects and start placing them back in their proper places. Before putting anything back, though, take a second to wipe each object down with a disinfectant wipe to remove all dust, detritus and germs. And if you’re going to put something into a cabinet or drawer, make sure you take at least five minutes to put it away to ensure it has enough time to air out after it’s been wiped with disinfectant. Take your time and think carefully as you put everything away—this kind of cleaning can also serve as a great excuse to make sure that all of your office appliances and accessories are arranged in a neat and orderly fashion. You’ll be happy you did once it comes time to get back to work.
Though cleaning regularly is essential to keep workers in any office safe, it will only go so far if people are failing to follow hygienic protocol while at work. By regularly applying disinfectant wipes to frequently used surfaces and washing your hands both before and after eating, the risk of infection in the office will plummet by as much as 80%. Always remember to regularly clean all surfaces at your place of work to keep yourself safe from infection. The world will be a safer place for it!
Contents

Need help designing?
Take our quiz for personal recommendations on the right Branch products for your workday.
TAKE THE QUIZ
Subscribe and save
Get access to exclusive content, be the first to hear about new launches, and unlock a special discount when you subscribe to our email list.

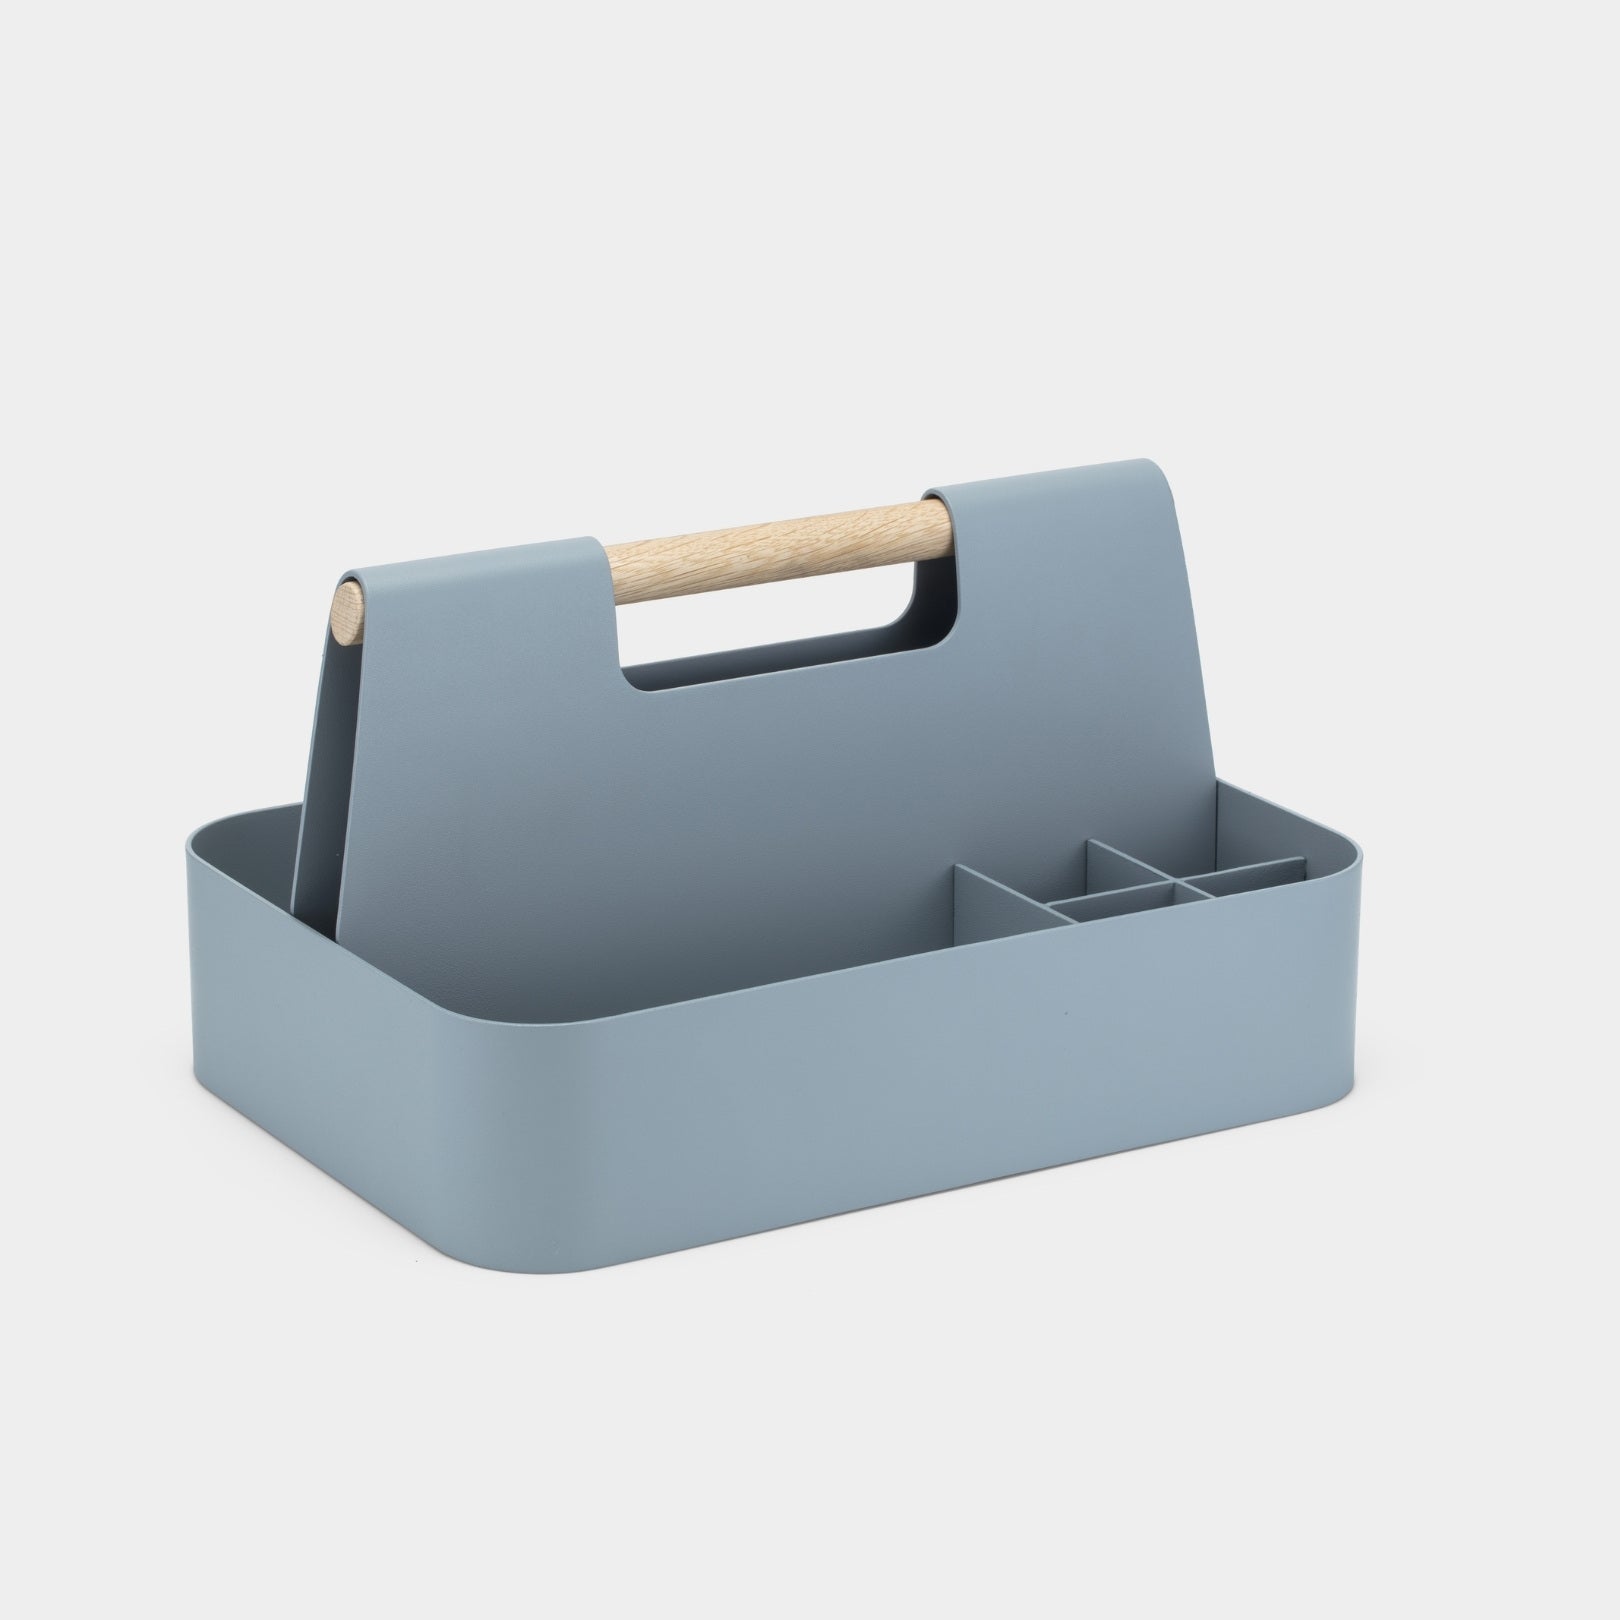
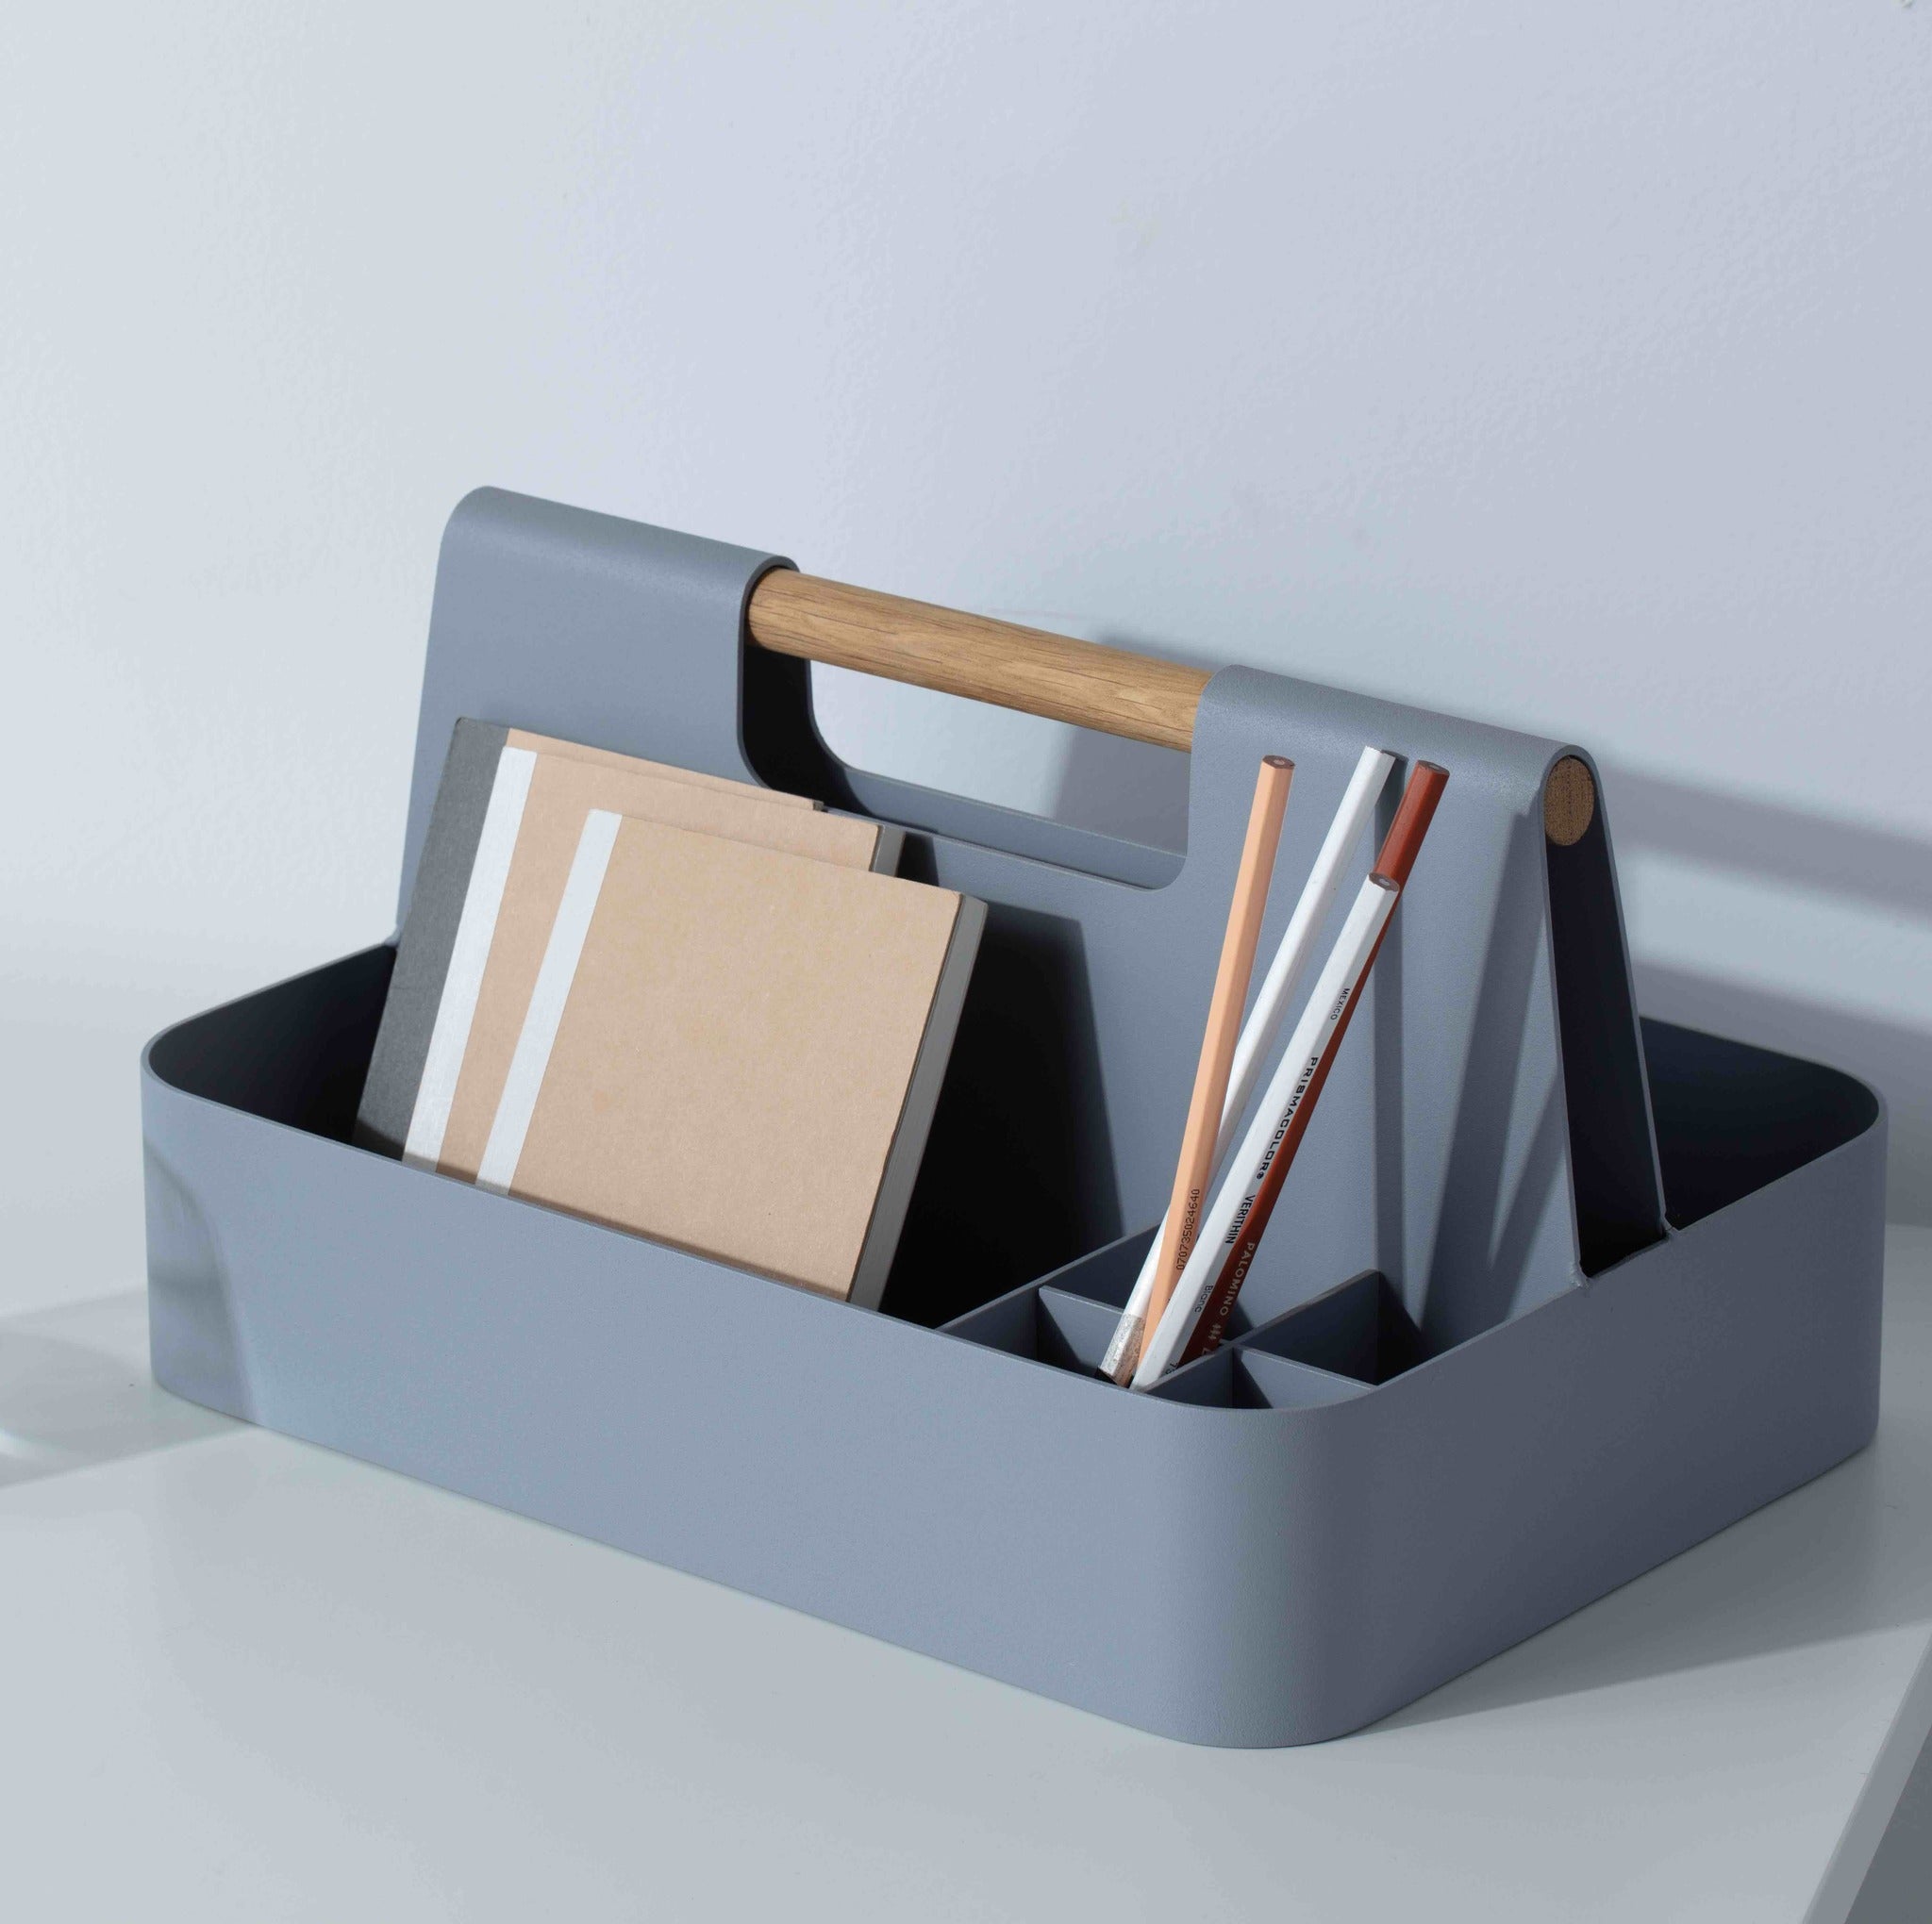
Desk Caddy
$189
Add to Cart
Shop Now